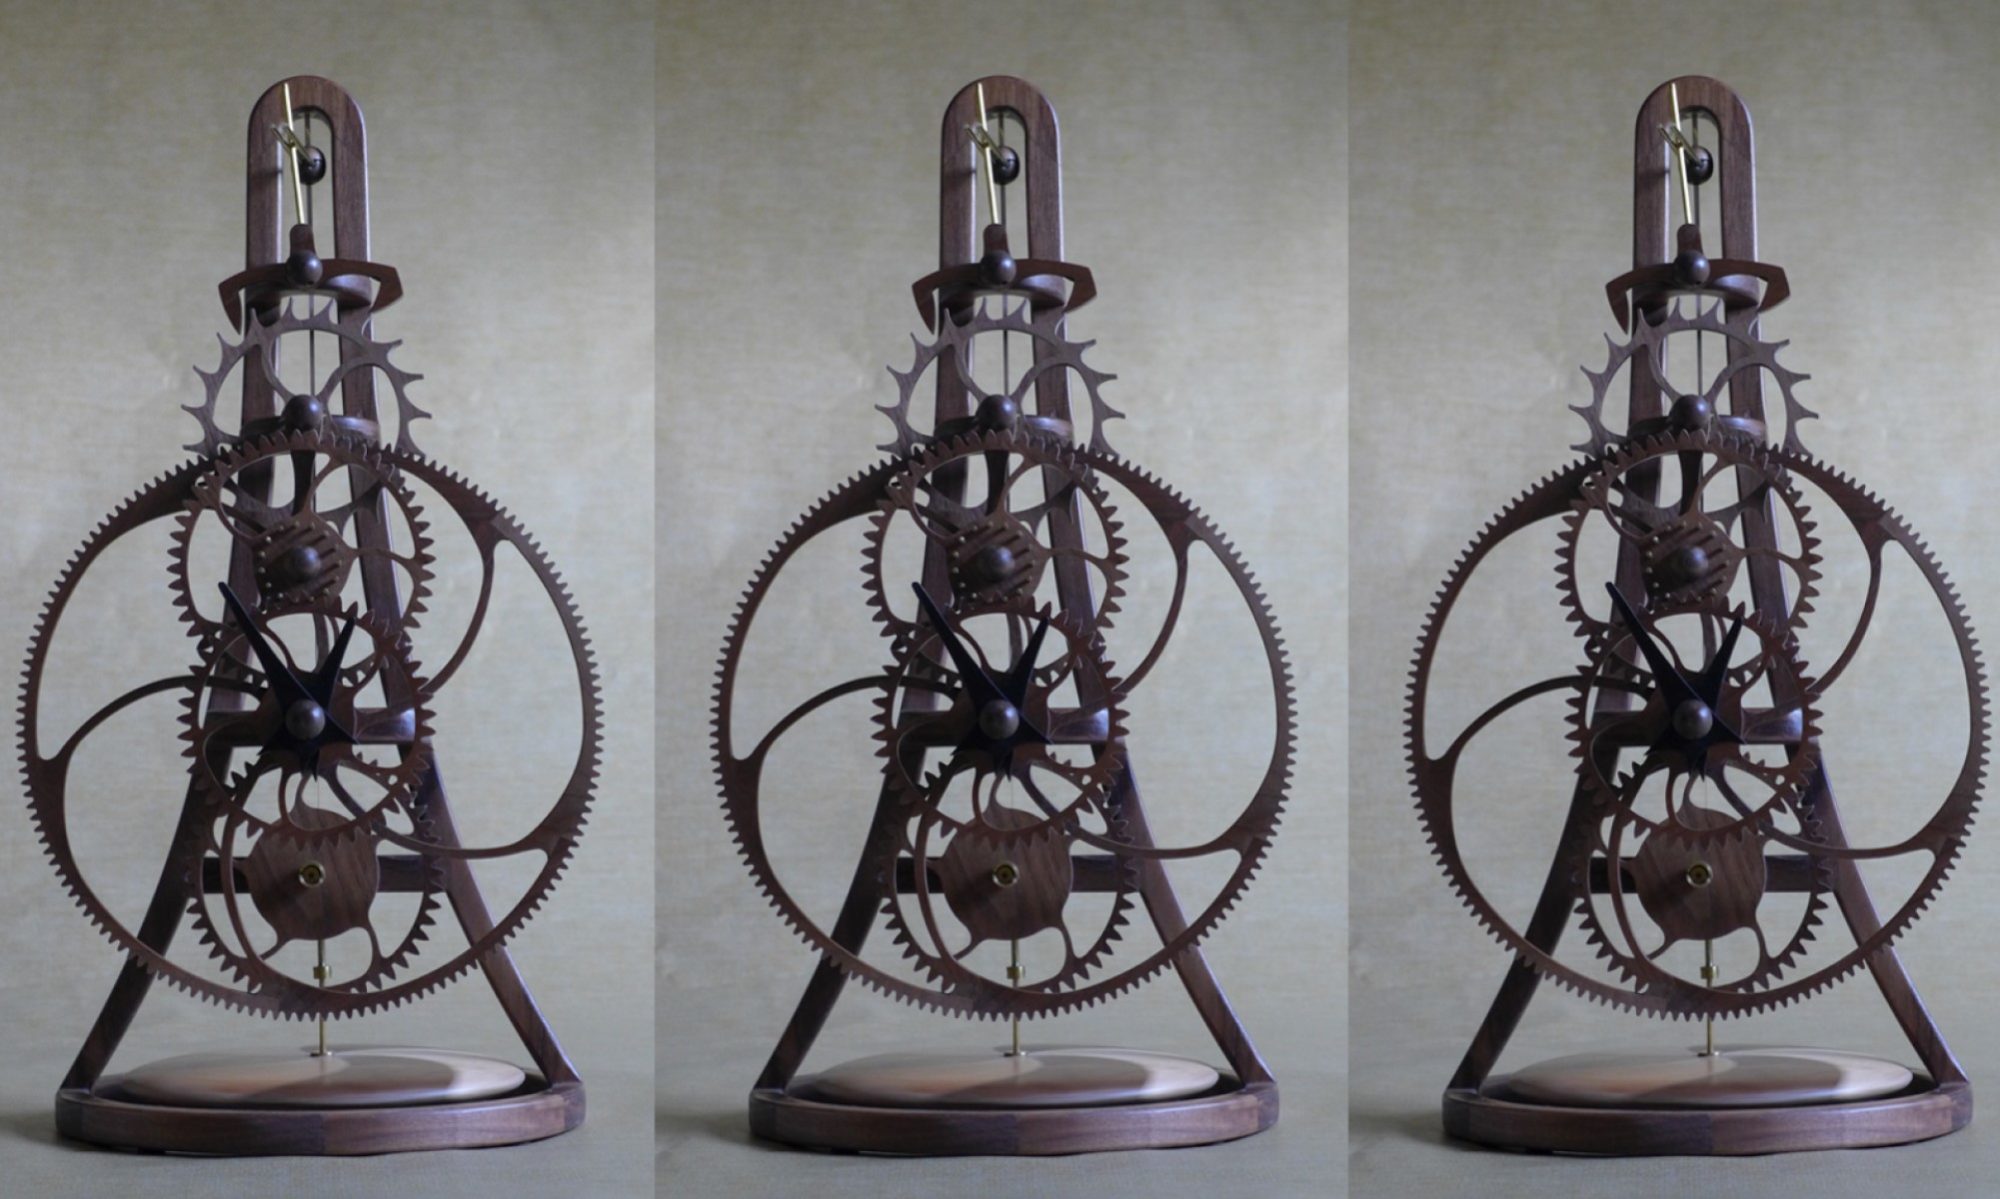
As the clock is running well, and keeping good time, it was difficult to take it apart to start the finishing process. Everything that was not permanently glued together has been disassembled and the wooden parts laid out for sanding. I started with the frame that still needed considerable work blending the cross pieces in to the uprights. I followed with the wheels and other parts using a sanding block where possible and folded pieces of sandpaper for the curved surfaces. All surfaces are finally sanded using 400 grit paper.
I like to slightly round all edges (“breaking the edges”) by running a piece of sandpaper along them so that they are no longer sharp. I learned from my days as a potter that even slightly rounding edges gives the piece a dramatically softer appearance.
My plan is to have everything sanded before I start to apply lacquer to minimize the amount of dust in the air that can land on the surface while the lacquer is drying.
As mentioned in an earlier post, the clock hands will be dyed black so that they stand out from the rest of the clock. Because it takes time for the dye to dry, and it normally takes three or four dye applications followed by sanding, I dyed the hands today using TransTint black dye diluted with water.

The plan was to sand all the part today but it did not happen and I have a few parts left to sand tomorrow. I try to clean the worst of the mess from my workshop at the end of each day, however sanding leaves every surface covered in dust that I will clean up when I finish sanding tomorrow. A necessary but not fun task.

