I was in a hurry to publish yesterday’s post and did not include photos of how I ensure the clock is hung vertically and the lower clock supports so I will start today’s post with them.


To make progress I had no choice but to cut the remaining 20 pinion rods and polish all 67 of them. This is my least favorite tasks.

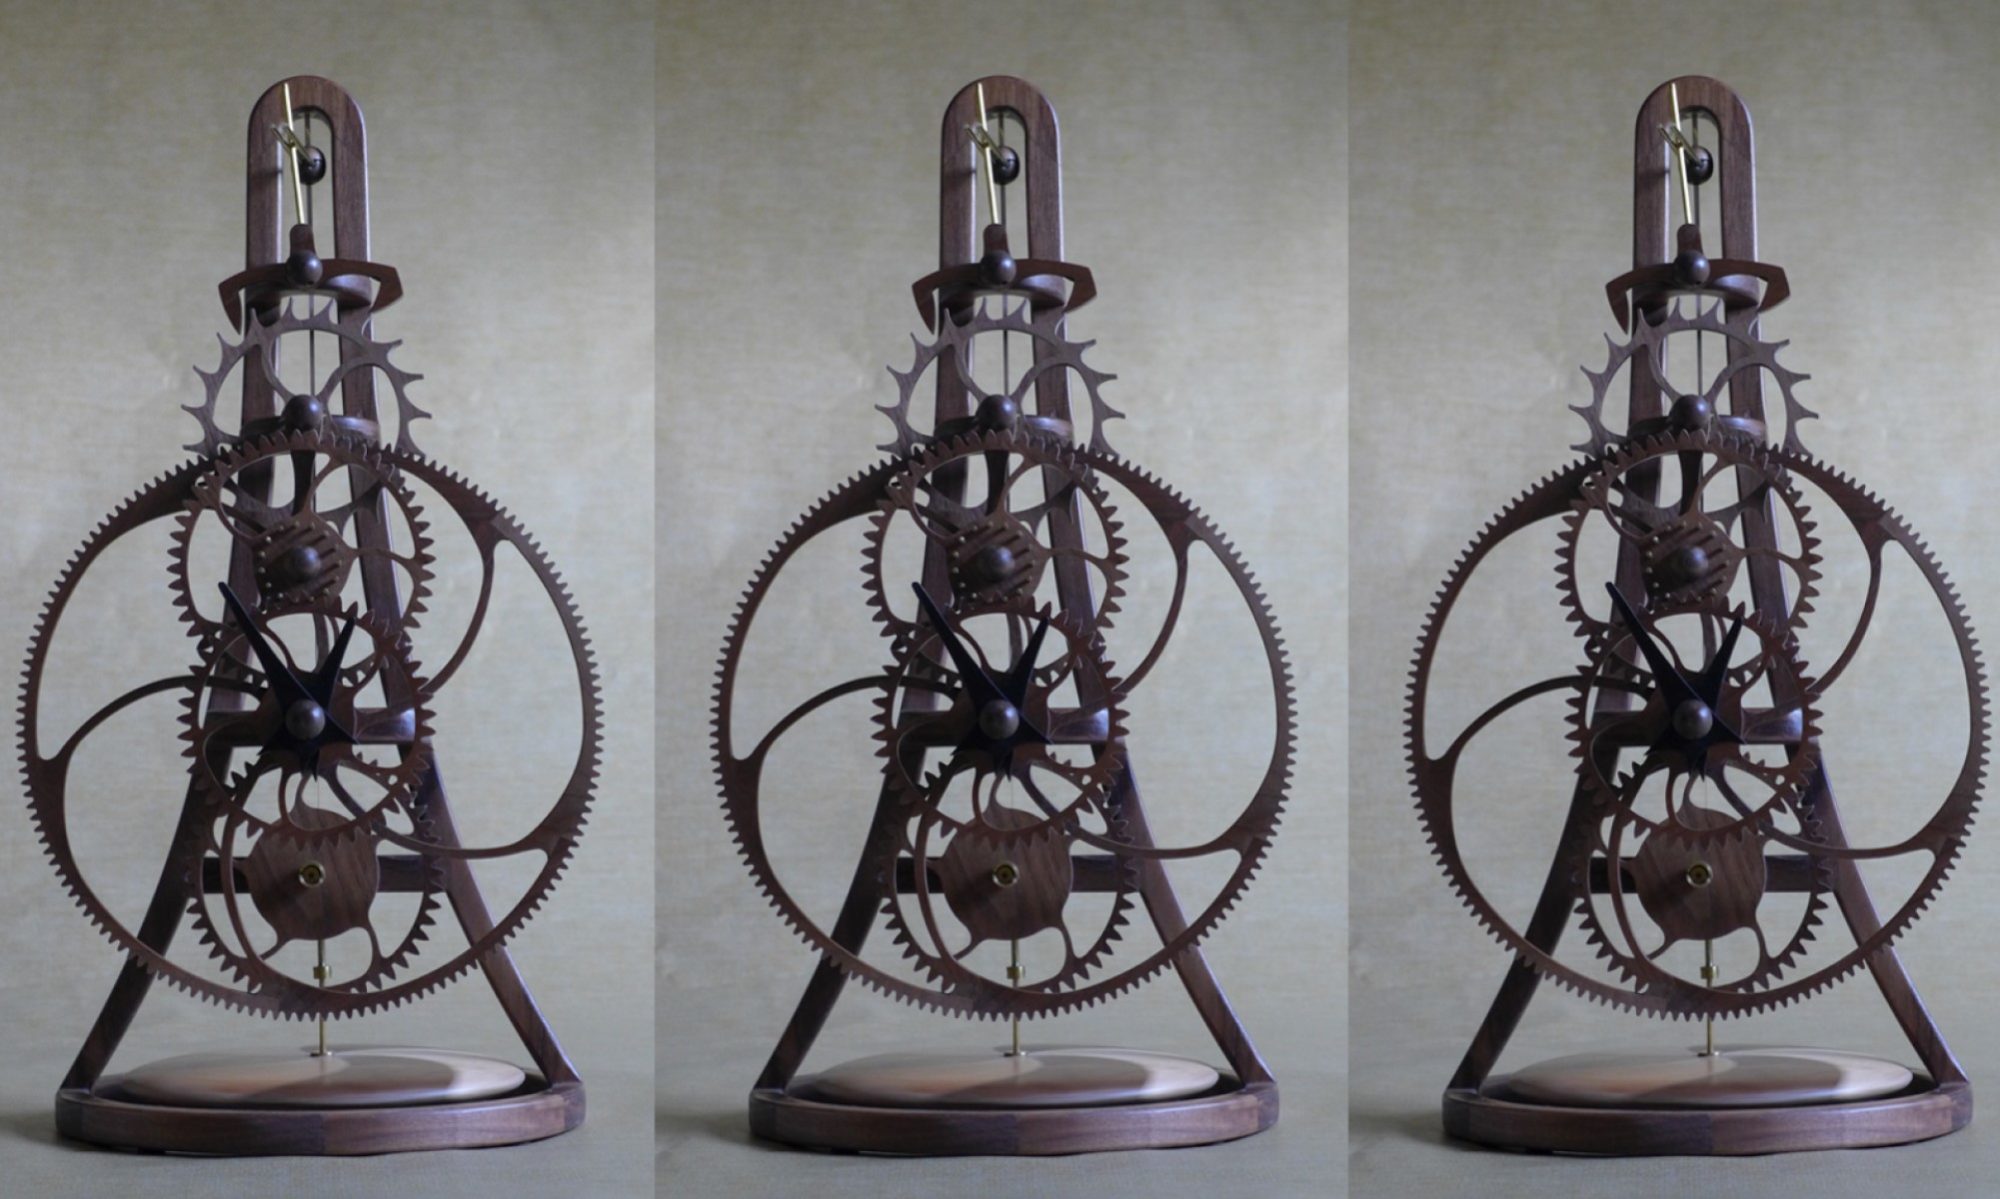
On previous clocks the pinion rods were a push fit in their holes. On this clock the brass rod diameter is very slightly smaller than the nominal 0.125” and I suspect the holes are minutely large so that the pinion rods are a sliding fit. Ultimately, this will not be a problem as I will glue them in place, but I want to run the clock to check it runs well before I remove the pinion rods to finish the clock. I decided to dip one end of each rod in the Watco lacquer that I will use to finish the clock before inserting them in to place. This should be good enough to hold the pinion rod for initial testing.

With any luck, tomorrow I will assemble the clock and see if all the wheels turn freely. If they do, I will make the final few parts required to “set the clock to beat” and see if it will run.