I have transitioned from cutting all the parts for my early clocks on a scroll saw, to using a CNC (Computer Controlled Router) to cut the components on my recent clocks. The CNC router requires a “g-code” toolpath definition that tells it how to move the router to cut out parts.
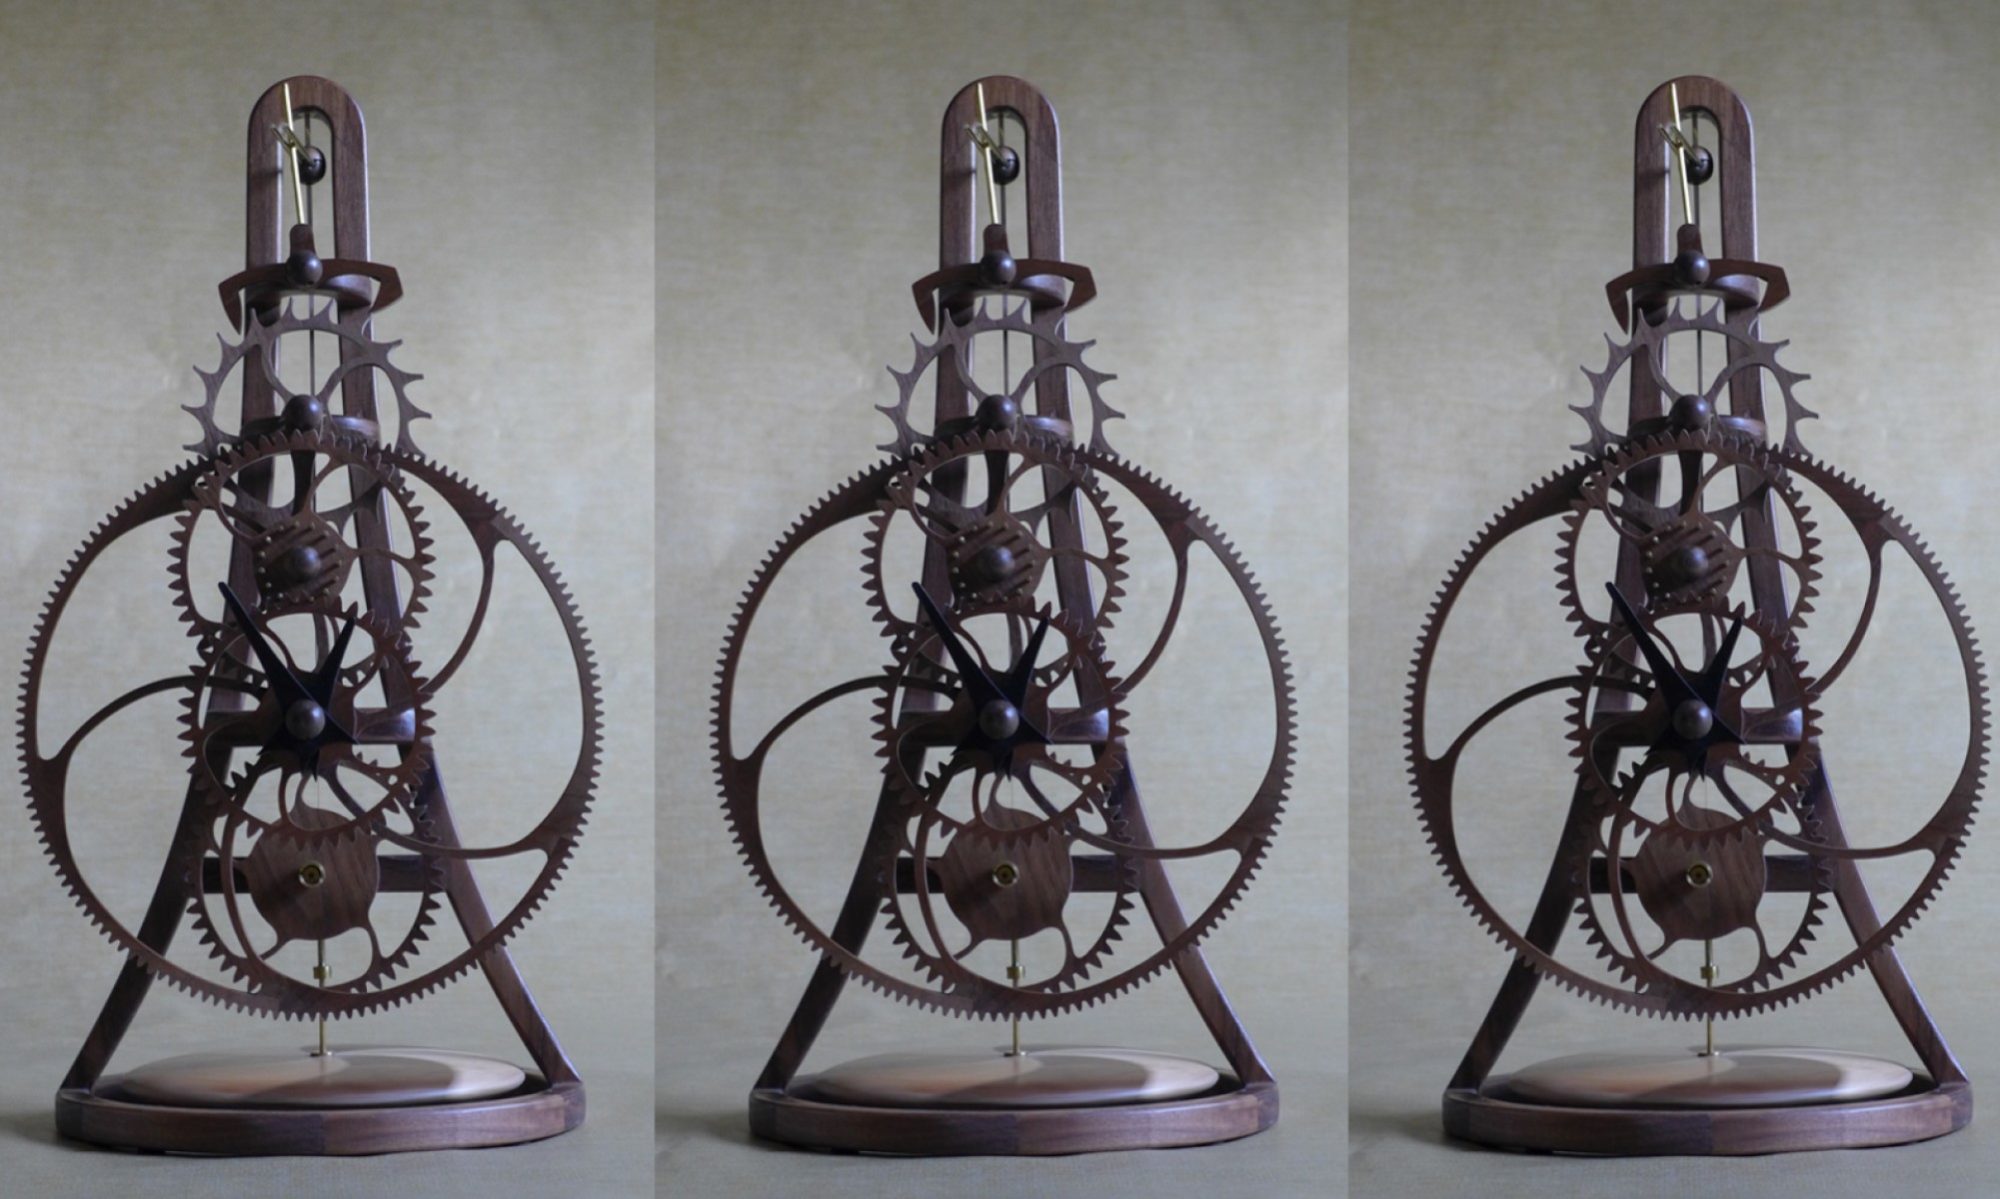
The first step in creating toolpath is to re-position the parts to fit on the sheet of wood to be cut. For example, the great wheel (see below) is constructed from 11 parts: the hub, 5 spokes and 5 rim segments.

CAD Definition of the Great Wheel

CAD Definition of the Great Wheel Components Positioned for Cutting on a 12” X 24” X 0.375″ Wood Sheet
I use the CUT2D software from Ventric to create the toolpath g-code. CUT2D reads in the CAD definition of the parts positioned for cutting and allows one to add tabs that hold the parts to be cut out to the surrounding material so that they do not come loose as they are being cut out. I also input information on the router tool size, the cutting depth and the cutting speed. CUT2D shows the router toolpath and a simulation of the wood sheet after the cutting process.

Definition of the Router Toolpath Cut from 12” X 24” X 0.375” Walnut

Simulation of the Wood Sheet After the Cutting Process
I have been through similar processes for all the parts (other than the torsional pendulum that I will use a 3D process to cut… more later) that I will cut out using the CNC Router. Below are images of the 5 other toolpaths.

Escapement Toolpath Cut from 8” X 10” X 0.25” Walnut Plywood

Clock Wheels & Pinions Toolpath Cut from 10” X 24” X 0.25” Walnut

Clock Frame Toolpath Cut from 10” X 24” X 0.75” Walnut

Remontoire Arm Toolpath Cut from 4” X 9” X 0.75” Walnut

Remontoire Arm Toolpath Cut from 6” X 12” X 0.125” Walnut
Almost ready to start cutting wood.