The day started well when I started pulling out the electronic components required to control the electric motor that winds the clock “remontoire” and found that I had an assembled set of components that I had built as a spare for my last clock. I decided to use this and wire it to the new motor that I bought for this clock.
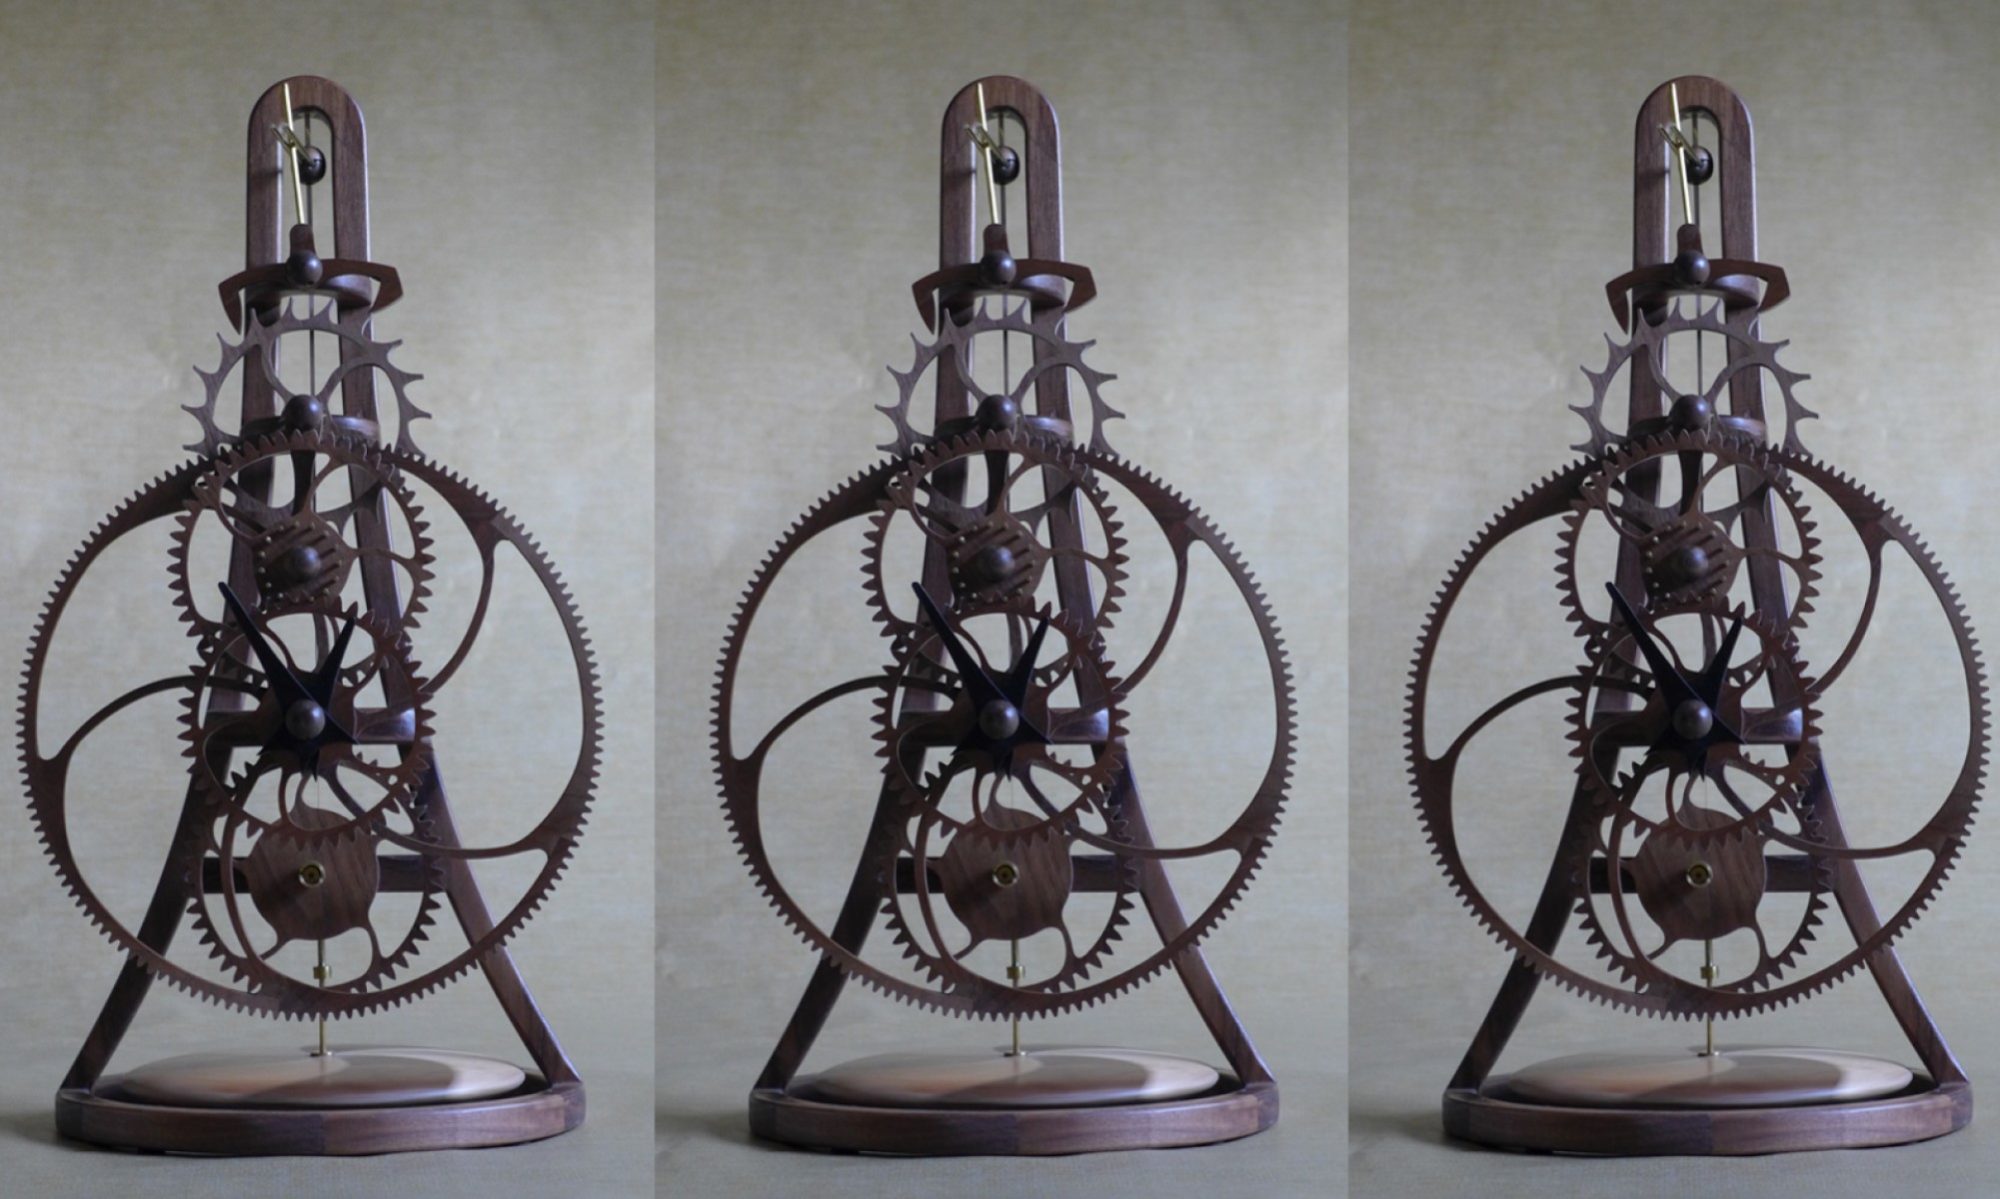
I discussed the remontoire and choice of electric motor in an earlier post (https://cedarclocks.com/the-new-clock/ ) that included a video of my last clock in which you can see the remontoire operate at about the 60 second point in the video. The remontoire motor is controlled by a tilt sensor, when the angle of the remontoire arm rotated below a given angle a small steel ball in the tilt sensor rolls down the sensor tube on to a set of contacts reducing the resistance across the sensor to almost zero. When this happens the circuit is designed to activate the motor that winds the remontoire wheel up the winding wheel until the angle of the arm causes the steel ball to roll back down the sensor tube resulting in an open circuit that stops the motor.
In theory, one could wire the tilt sensor between the motor and battery and the system should work. However, the motor draws a larger current that the tilt sensor is designed to withstand for long term use so I decided to use a MOSFET switch. The MOSFET switch is activated by the tilt sensor, however, only a very small current passes through the sensor and the larger current required by the motor passed through the switch.
I developed this circuit on my last clock, Electra, and, as I only have a basic background in electronics, I was very happy when it worked first time. However, after a small number of operations it stopped working and it became clear that the MOSFET switch had failed. I tried again with a second switch with the same result, it worked a few timed and then the MOSFET failed. I assumed I had a bad batch of switches and bought a few new switches from a different source. The first of these switches failed in the same way as the previous ones. I consulted Google and soon found that this a well know issue when using a MOSFET switch to control an inductive load like a motor and I needed to add a “flyback” diode to the circuit. The reason for this is explained in the Wikipedia article https://en.wikipedia.org/wiki/Flyback_diode. Once I added a flyback diode the circuit worked well. How did we do stuff like this before Google?
Below are a series of photos of the electronic set up and the remontoire arm. The tilt sensor is the gold colored component on the right of the circuit board. Finally, I took a video of the remontoire motor operating when I tilt it by hand.


Having successfully assembled the remontoire arm I decided to start working on the brass parts that attach the clock to the wall. The first part requires cutting 24 turns per inch thread on the end of a 3/8” diameter brass rod. I decided to cut this thread on the lathe rather than use a die. I have very little experience thread cutting on my lathe so I knew it was going to be a learning experience. My first attempt failed when the cutting tool jumped and ruined the thread. I tried again making very small cuts but it became clear that there was an issue with the lathe as the cutting tool kept jumping leaving a very poor cut. I investigated and found that the lathe saddle was loose on the lathe bed. These Chinese made mini-lathes are excellent value for money, but to adjust anything requires completely disassembling the lathe. Two hours later I had striped down the lathe, adjusted the saddle slide, cleaned everything and re-assembled it. I cut a couple of simple part and the lathe was cutting very smoothly leaving a much better surface finish that I have achieved recently so I suspect that the saddle has been coming loose for some time. Tomorrow, I will re-try cutting the thread.
The 3/4” diameter brass rod that I need for another part of the clock hanger arrived today so I plan to cut that tomorrow with my newly adjusted lathe.